What's included in a Paragami 3D Model download?
Each download package contains the 3D model files and a PDF layout guide to help you print, identify, and assemble the individual blocks.
The files are organised in different ways to support different workflows, whether you prefer working with the whole model, colour-grouped parts, or individual blocks.
The sections below explain what each file type and version is for.
For design-specific additions and updates, check the Download package updates section on the individual product page.
STL, STEP and DWG (3D) — What's the difference?
Choosing a file format
Each Paragami 3D Model comes in three file formats: STL, STEP and DWG (3D). All three contain the 3D model and can be used or edited in compatible software, but they represent the geometry differently.
• STL: Choose this for the most straightforward 3D-printing workflow.
• STEP: Choose this when you want to work with smooth CAD geometry or edit the model in compatible CAD software.
• DWG (3D): Choose this when DWG is better supported by the CAD software you use.
STL (.stl) — Mesh geometry
STL is the most widely used format for 3D printing.
The model is represented as a mesh made up of vertices and flat faces. The density of this mesh determines how accurately it represents the original shape.
A higher-resolution mesh preserves more detail but produces a larger file. If the mesh is too coarse, you may see flat facets when viewing the model close up or enlarging it significantly.
Best for: Preparing your model for 3D printing using a slicer.
STEP (.step / .stp) — CAD geometry
STEP stores the model as CAD geometry, including mathematically defined curves and surfaces. In Paragami's STEP exports, this allows smooth surfaces to be represented without fixing their appearance to a particular mesh resolution.
Think of it as the difference between a vector graphic and a bitmap: the underlying geometry remains smooth when you zoom in or scale the model, rather than revealing the individual facets of a mesh.
You can edit the geometry in compatible CAD software. Some slicers can also import STEP files directly and convert the geometry into a mesh for printing.
Best for: CAD workflows, editing model geometry, and maintaining smooth surfaces when scaling or working with the model.
DWG (3D) (.dwg) — CAD surface geometry
The DWG (3D) export provides another way to work with Paragami's CAD geometry, using NURBS-based surfaces rather than an STL-style triangular mesh.
Its main advantage over STEP is software compatibility. Some CAD applications support DWG but have limited or no support for STEP, making DWG a useful alternative.
The ability to open and edit the file depends on the software and version you use.
Best for: Working with the 3D model in compatible CAD software that supports DWG and suits your workflow.
Plain and Numbered Models
Two model versions
With the latest update, two versions of the model are included in the download package - PLAIN (without numbers) & NUMBERED (with numbers in the base.
Plain
The blocks have flat bases without numbers. Printing is faster, but you need to mark the blocks manually to identify their positions during assembly.
Numbered
The block numbers are incorporated into the base, making the blocks easier to identify and assemble. Printing takes longer than with the plain version.
G-code Preview
After slicing the model and generating G-code, the difference becomes visible on the base: the Numbered version includes the block number, while the Plain version has a flat, unnumbered base.
Whole 3D Model
All blocks in one file
The entire artwork, including all its individual blocks, is exported as a single file.
Choose this export when you prefer to work with the complete model rather than separate colour groups or individual block files.
Print the entire model:
Import the file into your slicer and scale the artwork to fit your printer's build plate.
Print in tiles or groups:
Use the whole model as a starting point, then divide it into sections sized to fit your build plate.
Print in one colour:
Ideal when you don't need to separate the blocks according to their design colours.
Colour Groups
Blocks exported according to their design colour
The blocks are separated into files according to the colours used in the artwork. For a five-colour design, each file contains the blocks assigned to one colour, such as COLOUR_01, COLOUR_02, and so on.
Print with a multi-material printer:
Import all five colour-group files into your slicer. Assign the appropriate material to each group, then scale the complete artwork to fit your build plate if needed.
Print each colour separately:
Import one colour-group file into your slicer and use Split to Object to separate the blocks. Arrange them on the build plate and prepare as many print plates as needed. Repeat with the remaining colour-group files.
This approach keeps the blocks organised by colour and makes it easier to prepare separate print jobs for each colour.
Individual Blocks
One block per file
Every block is exported as a separate file. The file name identifies the block and includes its colour designation.
Reprint a single block:
If a block fails to print or gets damaged, find its file and print only the replacement you need.
Prepare all blocks of one colour:
You can also use the individual files to prepare an entire colour group:
- Open the download folder and filter the file names by a colour, for example, COLOUR_01.
- Select all the matching block files and drag them into your slicer.
- Arrange the blocks on the build plate and prepare your print plates.
This produces a similar result to importing the corresponding Colour Group file and splitting it into individual objects.
Individual block files are particularly useful when you need precise control over which blocks to print or when you only need to replace a few pieces.
PDF Layout
Full-scale layout guide
The PDF layout shows where each block belongs in the finished artwork. Use it to identify each block's position and orientation during assembly.
The numbered model version makes it easier to match the printed blocks to the layout. If you use the plain version, you will need to mark the blocks yourself.
Use the layout on screen:
Want to know what to use as a backboard?You don't have to print the layout. You can keep it open on your screen as a reference and glue the blocks directly onto your backboard.
Print the Layout:
Lean how to print the layout in full scaleIf you prefer a full-scale paper guide, print the PDF using your printer's Poster mode, then join the pages together.
How to open the ZIP file?
Learn moreOnce you will purchase the template, you will download a zip package.
Right click and extract. There are several folders in the package.
Choose your 3D Model
-
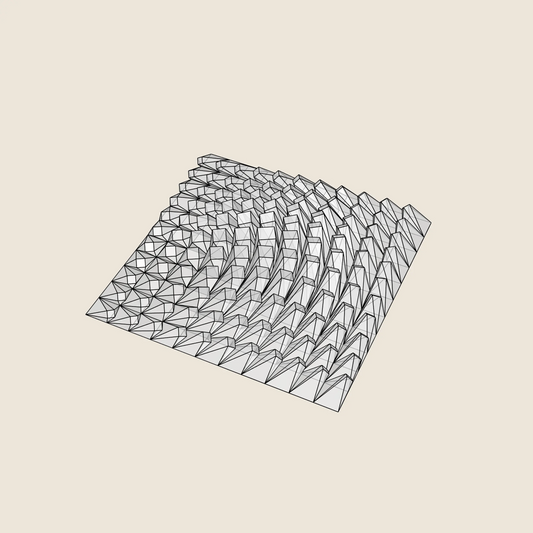
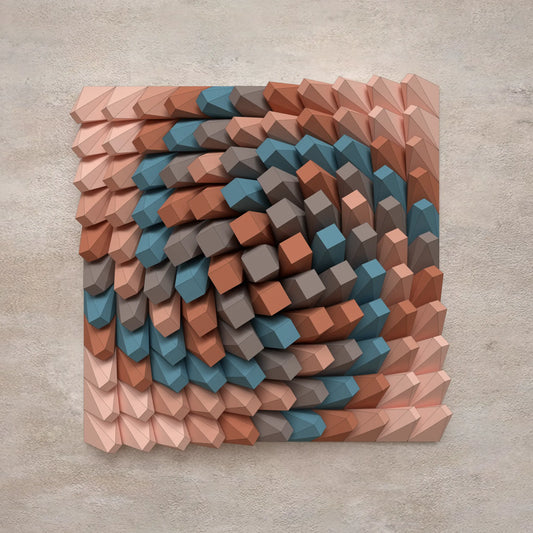
3D Model
For 3D PrintingSTL • STEP • DWG
-
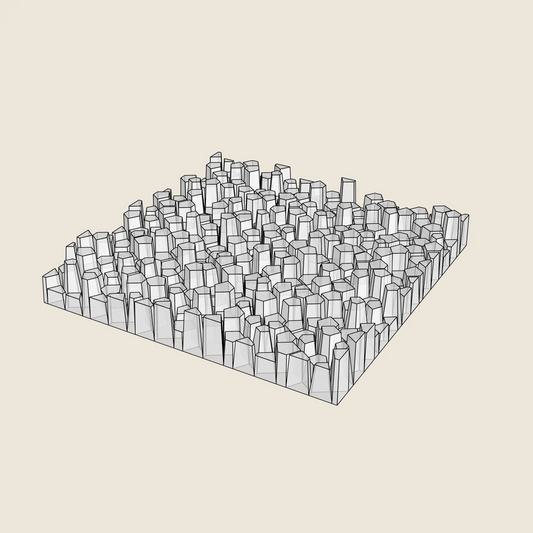
3D Model
For 3D PrintingSTL • STEP • DWG

-
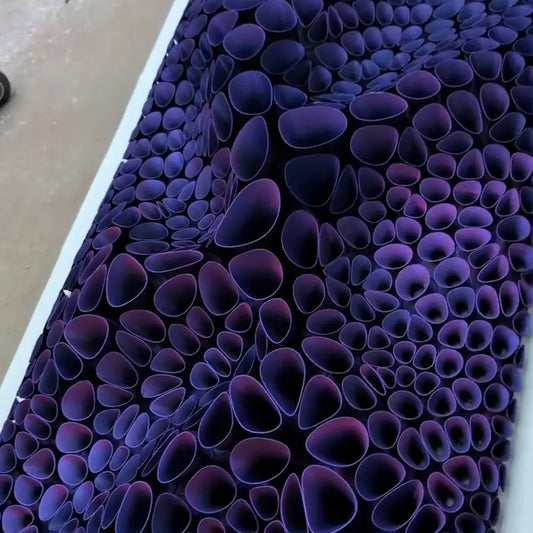
3D Model
For 3D PrintingSTL • STEP • DWG

-
3D Model
For 3D PrintingSTL • STEP • DWG

-
3D Model
For 3D PrintingSTL • STEP • DWG

-
3D Model
For 3D PrintingSTL • STEP • DWG

-
3D Model
For 3D PrintingSTL • STEP • DWG

-
3D Model
For 3D PrintingSTL • STEP • DWG

-
3D Model
For 3D PrintingSTL • STEP • DWG