HOW TO WORK WITH THE PDF
01 / GET PDF READER
If you do not have it already, we recommend getting a proper PDF viewer - such as Adobe Reader.
You can DOWNLOAD IT for free.
02 / PDF NATIVE SIZE
At first, we had our templates ready for A3. However, later we discovered, that most of you favour the A4 format.
We are now updating all the templates one by one to be ready for A4. Some of the templates are already prepared for A3 and A4.
Read the "Paper sheet information" on the product page. If the number of A4 sheets is mentioned, it is already updated.
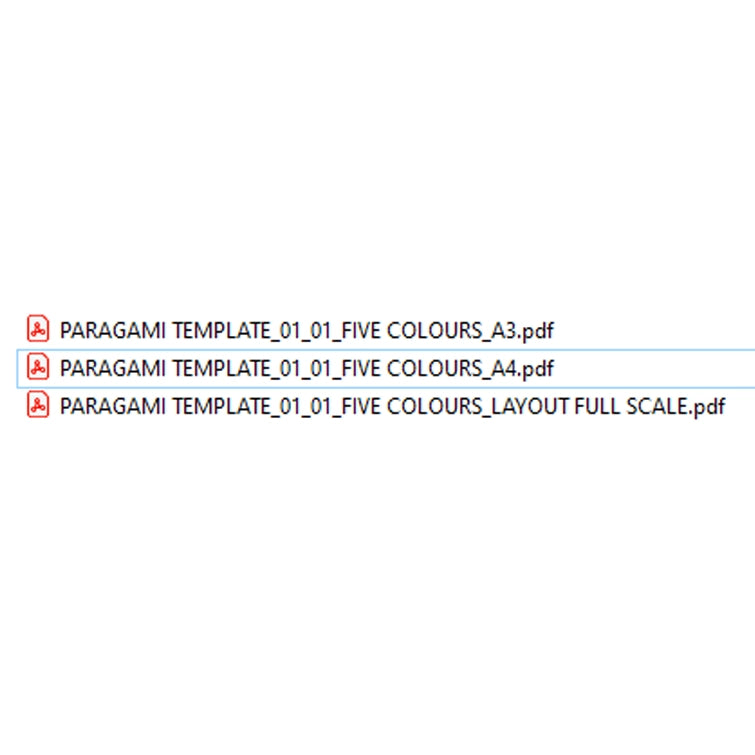
The format of the PDF is also mentioned in the file name.

But to be 100% sure, you can always check the PDF format yourself directly. Open the PDF in the reader.
Go to: Menu / Document properties
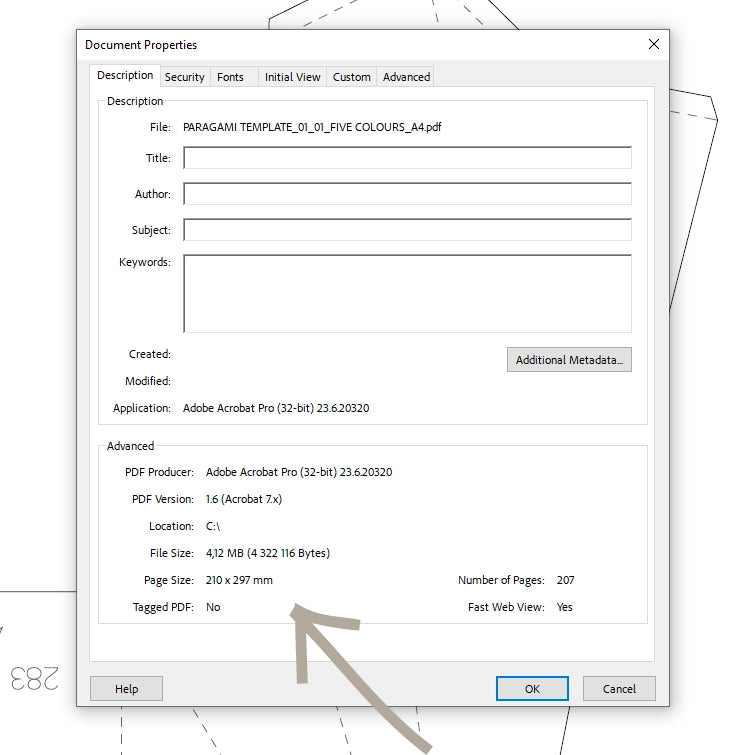
On the Description tab, you can find information about the Paper Size, in which the PDF is created.
You will need this paper size for printing it in 100% scale.
- A0 = 841 × 1 189 mm
- A1 = 594 × 841 mm
- A2 = 420 × 594 mm
- A3 = 297 × 420 mm
- A4 = 210 × 297 mm
03 / PRINT SETTING
In this section, we'll focus on how to set up the pdf for printing with your printer.
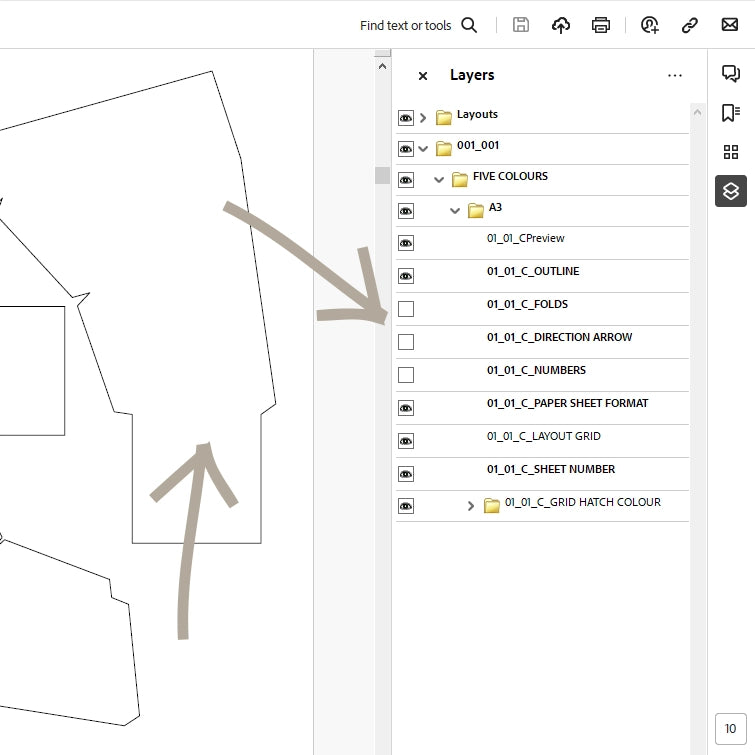
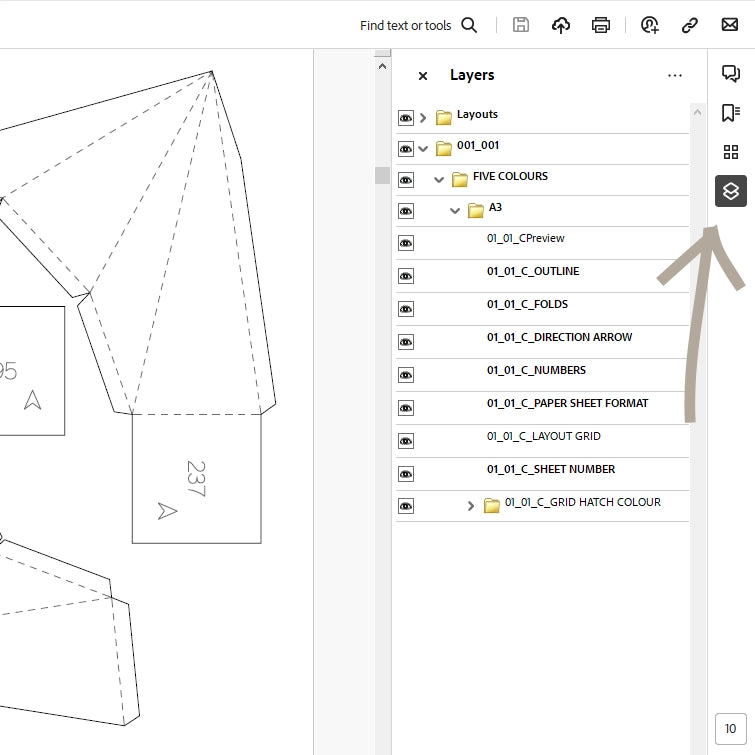
TURNING LAYERS ON/OFF
Our PDFs are exported as vector graphics, with geometry sorted into layers. You can turn ON/OFF individual layers.
This comes in handy, if you want to turn off the number, direction arrow or the folding lines.
Open the Layers tab from the right bar menu and change the visibility as you wish.
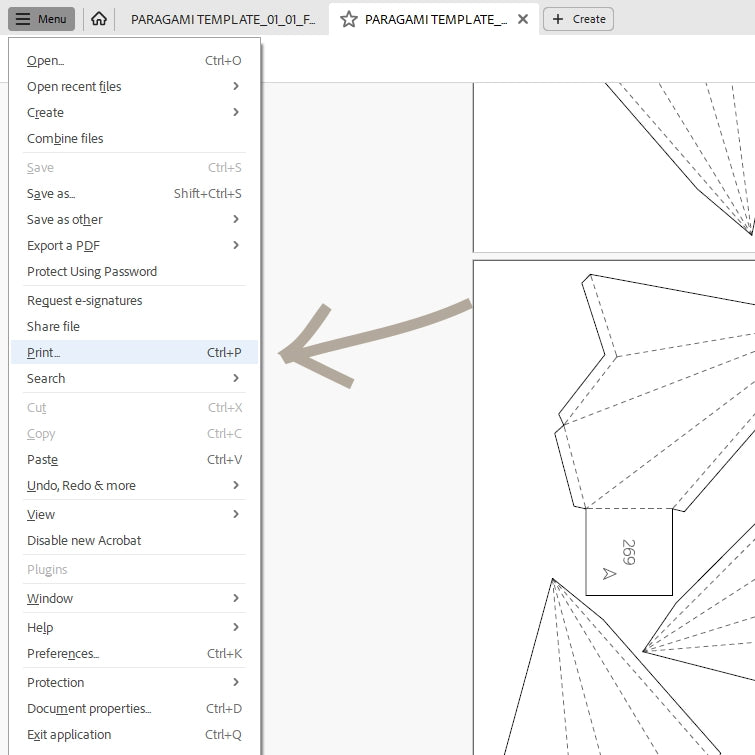
PRINT SETTINGS
Go to Menu / Print ...
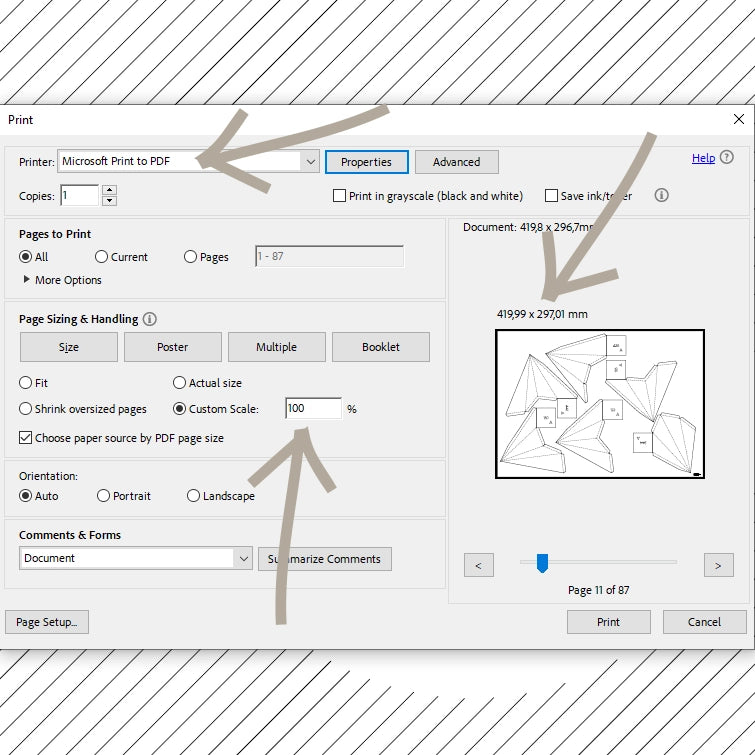
Select your printer. All printers have different settings and options. Later settings will vary. Please bear in mind this tutorial is only to be followed freely.
We recommend printing in 100% scale to keep the original size of the art. Also, the glue tabs will be the correct size.
For A4 printers use the PDF generated for A4 size. For A3 printer use the PDF generated for A3 size.
You can double-check the paper size (on which you will be printing) above the preview.
However, YES, you can print in different scales on different formats.
A3 to A4 is as 70%
A4 to A2 is 200%
A4 to A3 is 141%
Bear in mind changing the scale of the printing will change the final size accordingly.
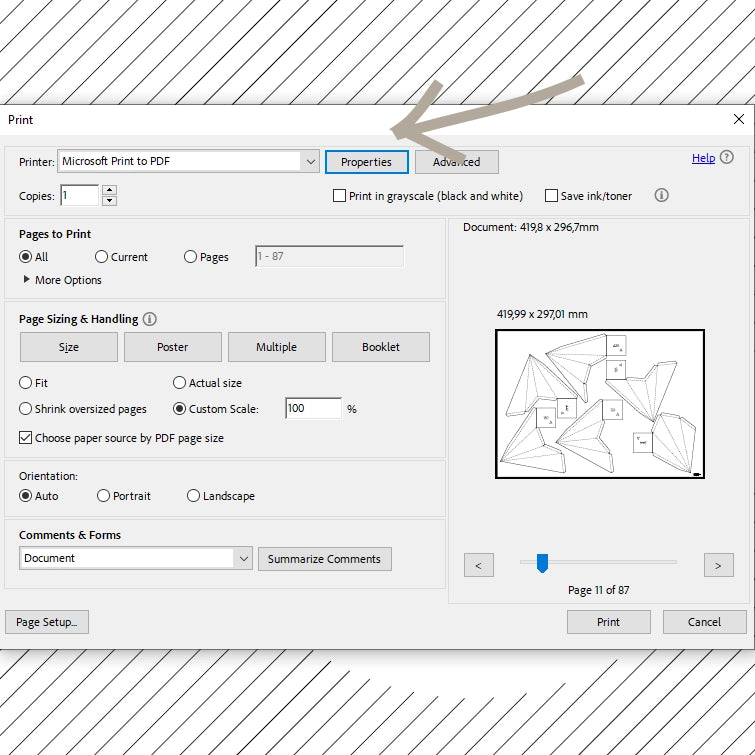
Sometimes the Printer has set different paper size by default. And even ticking the "Choose paper source by PDF page size" won't help.
It that case go to Properties
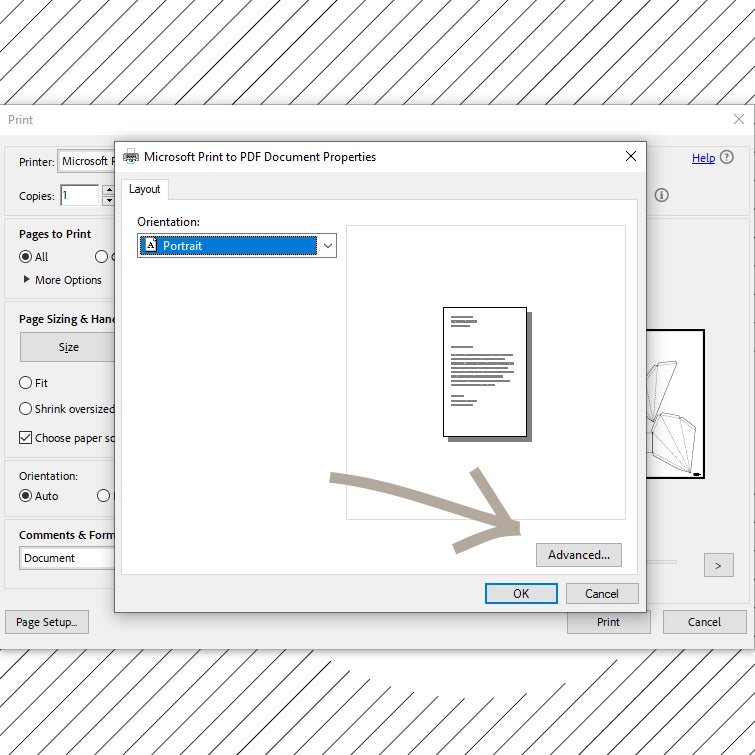
Click on Advanced...
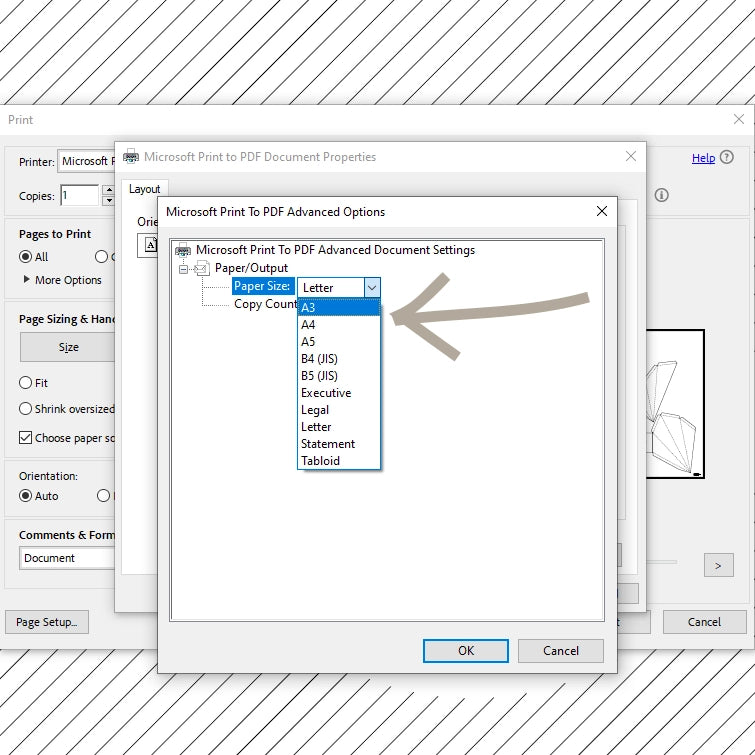
Select the Paper Size manually.
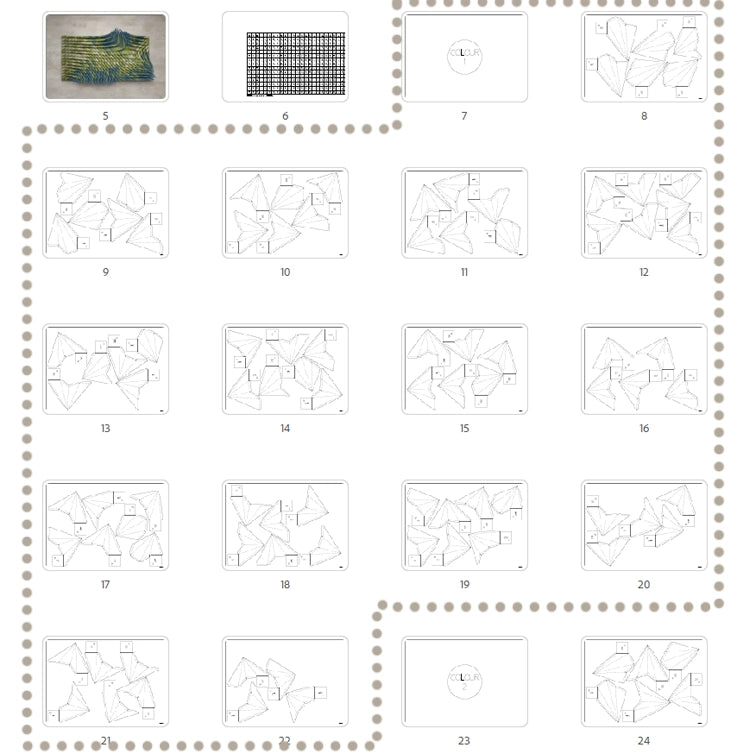
Do not print all the pages. It is not necessary. Print only the ones with the blocks.
When having the COLOUR version template print each colour section on its own color paper.
In the multiple-page preview, it is easy to see page numbers for each section. In this case, blocks for COLOUR 1 are on the page range 8-22.

In the Print window select that you want to print only certain Pages and will in the page range.
Double-check the selection with the Slider under the prewiew.
Click on Print.
04 / HOW TO PRINT "POSTER" = LAYOUT FULL SCALE
In most cases printing the Layout Grid in full scale is not needed. It is basically only a simple grid. From our experience, most people are attaching the folded block directly to the backboard. Sometimes they draw the grid with a sharp pencil.
However, if you feel you really need to print one in full scale, this is how to do it.
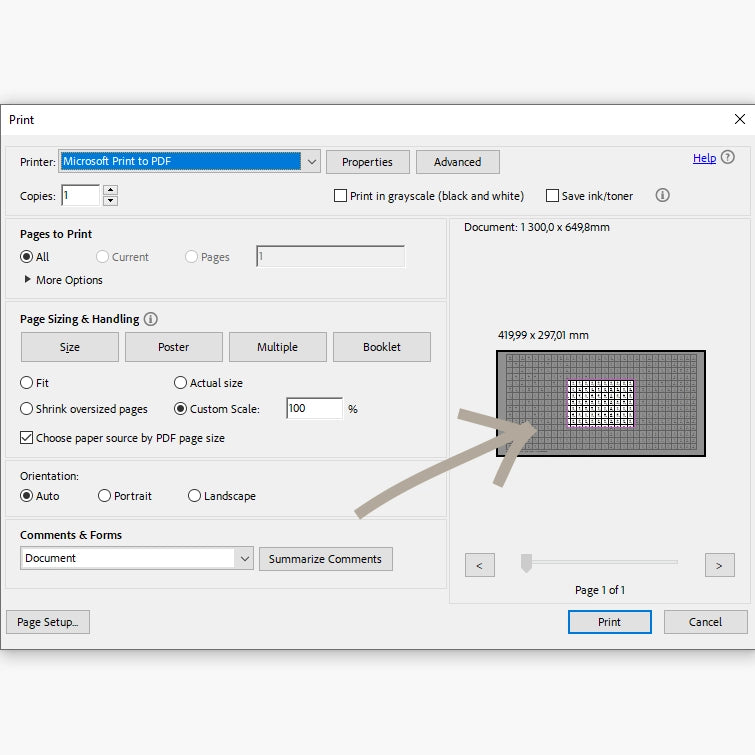
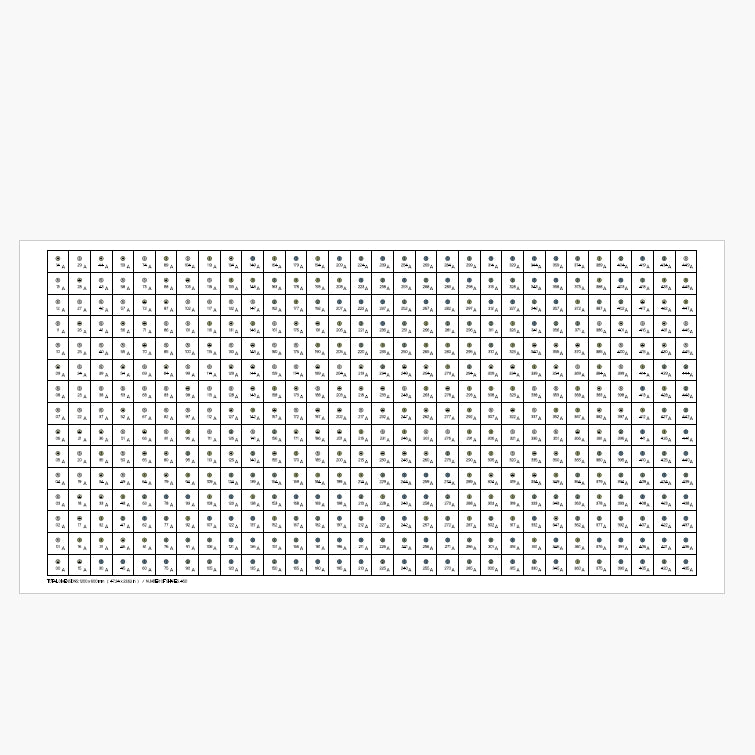
Open the PDF with "LAYOUT FULL SCALE" in the name. In this case you can see the PDF Document original size is 1300 x 650 mm - which would not fit the A3 format now way.
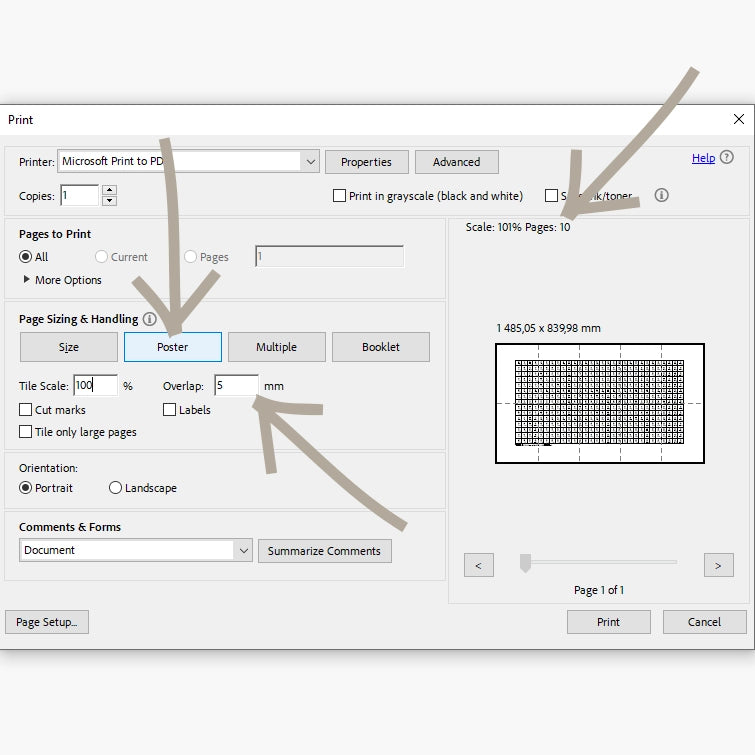
Click on the Poster button. This will divide the original size into smaller sections. Set how much you want the pages to be overlapping.
And that it is. You can see that the layout will be printed in the original size onto 10 A3 pages, which you can glue together, that's to the 5mm overlap.
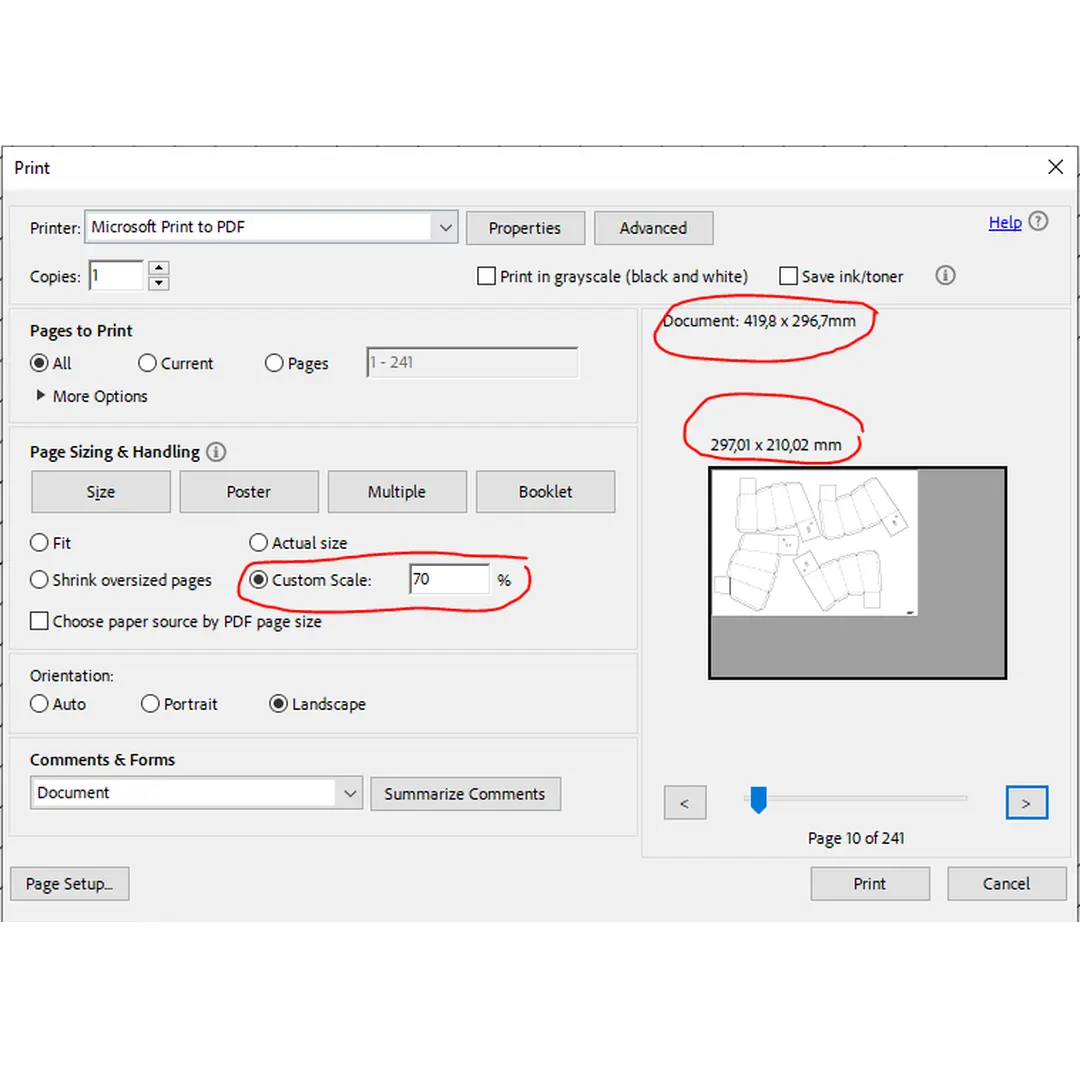
05 / SCALING
A3 TO A4 = 70%
If you will print the A3 sheets onto A4 paper, fill in the 70% scale. It will fit. It works geometry-wise. The final art will be 70% of the original size.
06 /TROUBLESHOOTING:
INVISIBLE LINES
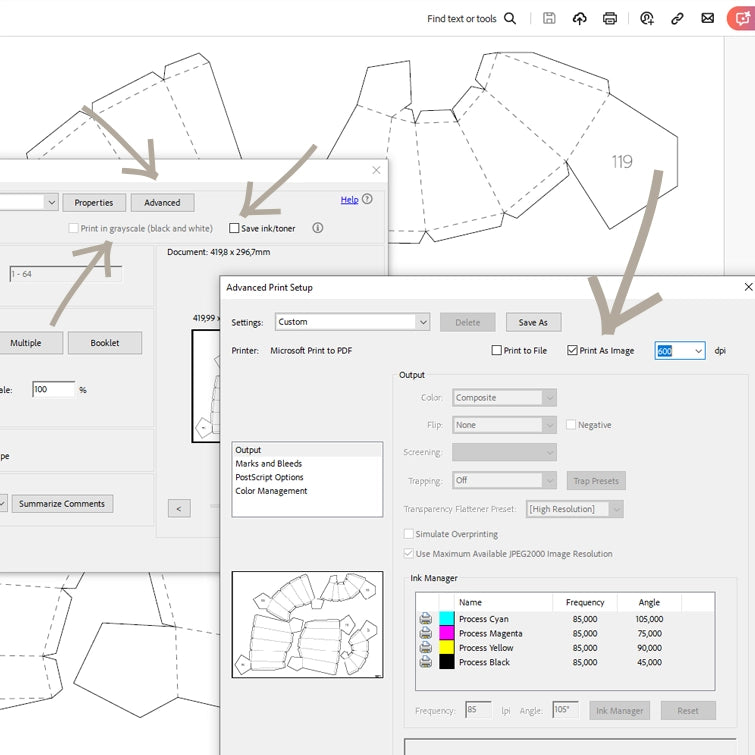
Some printers can't properly print the lines - the lines are invisible or too thin. Try to adjust the print setting.
- Unselect "Save ink/toner"
- Select "Print in grayscale (black and white)
- Go to Advanced and select "Print As Image" with 600 pdi (try several options)