How to preview Colour Combinations


-
Model Export
3D PRINTINGSTL • STP • DWG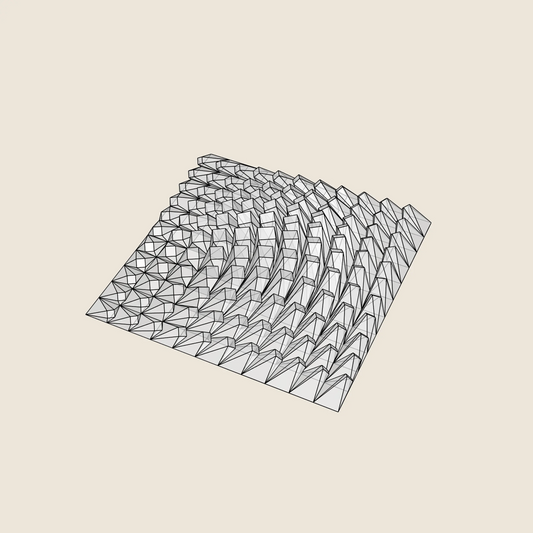
TWISTED BOX - 3D MODEL / 007_001
Regular price $11.70 USDRegular priceUnit price per -
Model Export
3D PRINTINGSTL • STP • DWG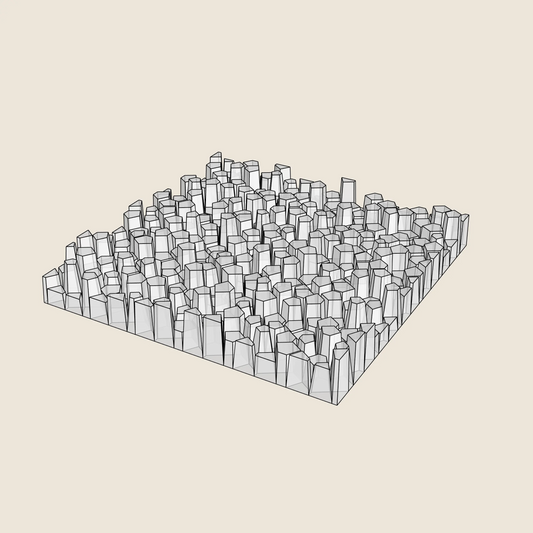
RANDOM PENTAGONS (3x COLOUR VERSIONS) - 3D MODEL / 007_006
Regular price $11.70 USDRegular priceUnit price per -
Model Export
3D PRINTINGSTL • STP • DWG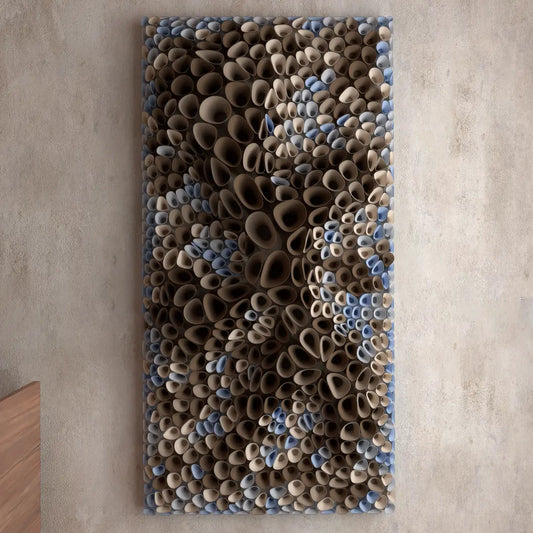
CORAL SPONGE 01 - 3D MODEL / 010_004
Regular price $23.40 USDRegular priceUnit price per -
Model Export
3D PRINTINGSTL • STP • DWG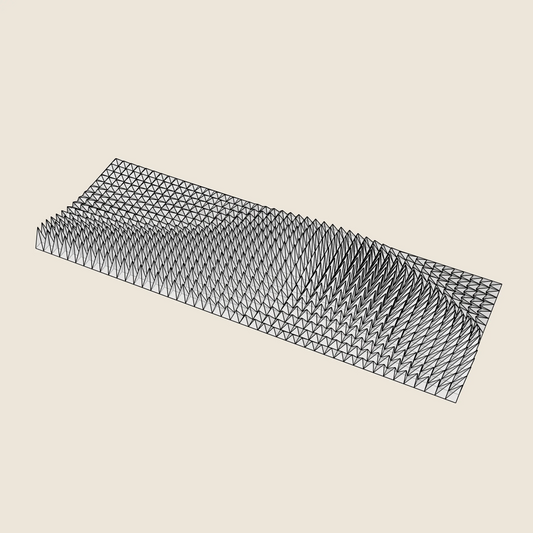

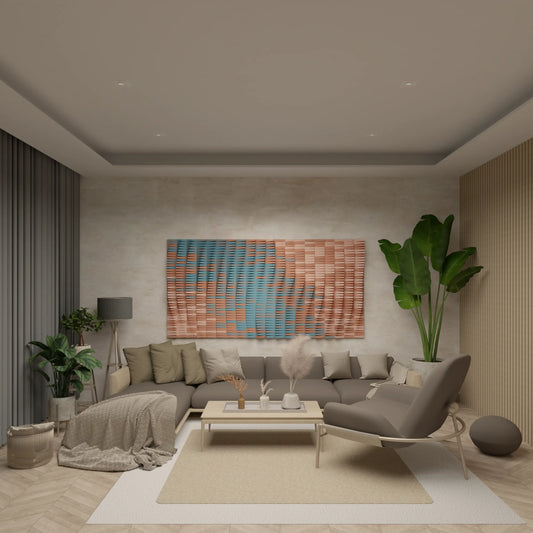
TRIANGLE WAVE - 3D MODEL / 001_002
Regular price $21.06 USDRegular priceUnit price per -
Model Export
3D PRINTINGSTL • STP • DWG
FLOATING FUMES - 3D MODEL / 010_006
Regular price $17.55 USDRegular priceUnit price per -
Model Export
3D PRINTINGSTL • STP • DWG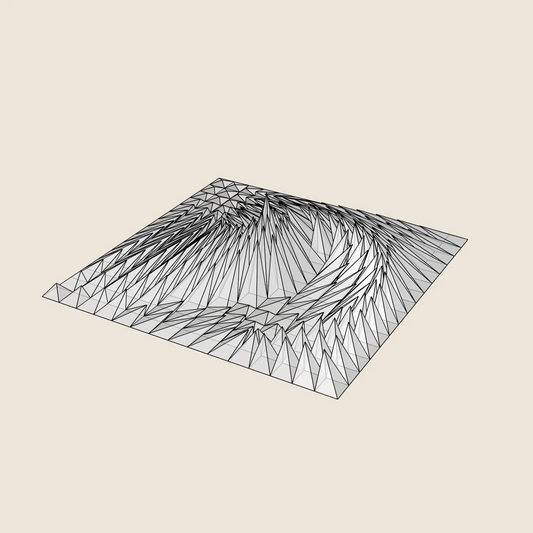

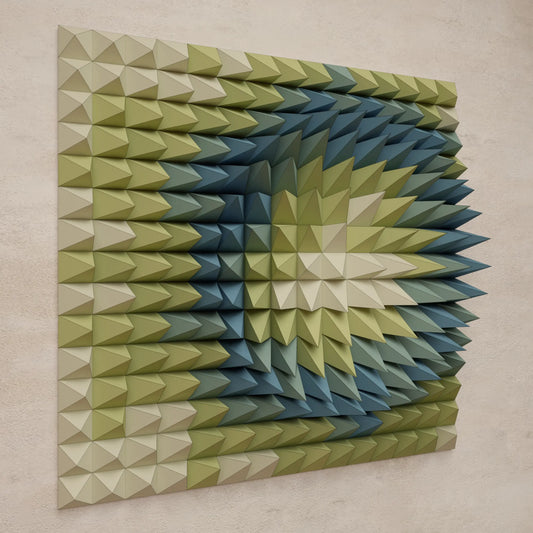
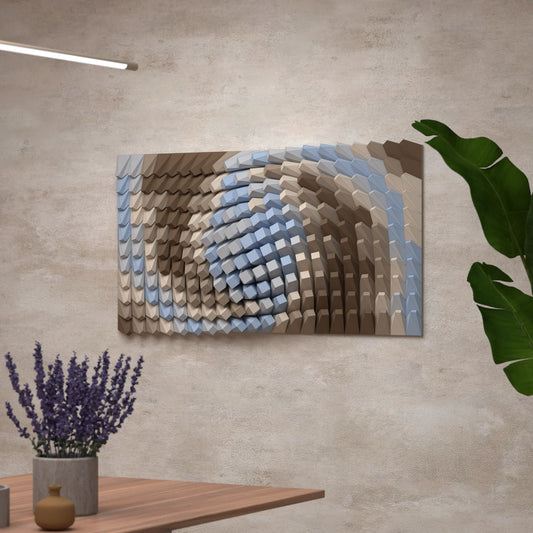
WHIRL PEAK - 3D MODEL / 001_005
Regular price $11.70 USDRegular priceUnit price per -
Model Export
3D PRINTINGSTL • STP • DWG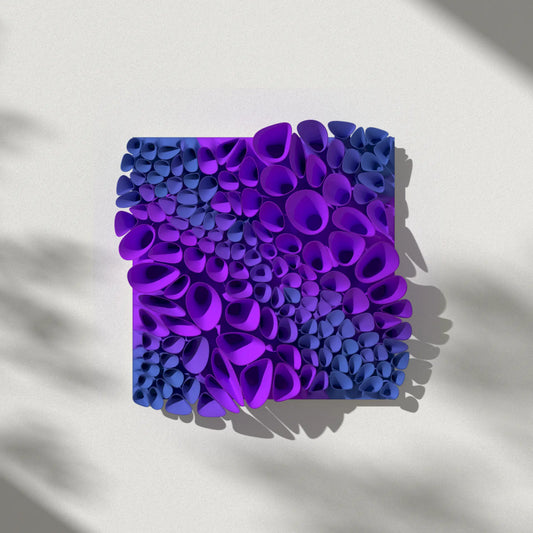
CORAL SPONGE 03 (tileable) - 3D MODEL / 010_011
Regular price $17.55 USDRegular priceUnit price per -
Model Export
3D PRINTINGSTL • STP • DWG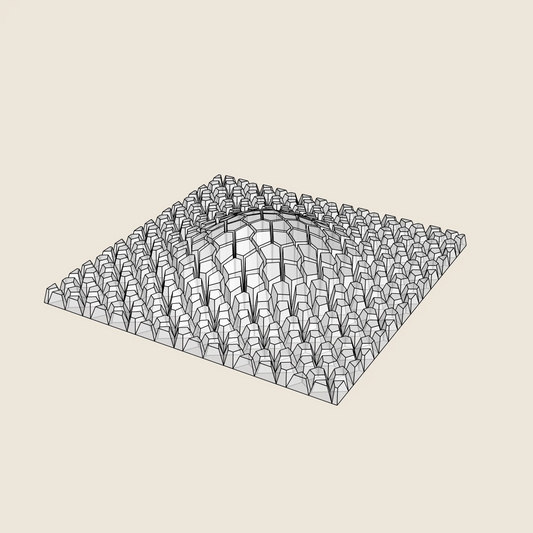

CRACKED BULGE - 3D MODEL / 007_004
Regular price $11.70 USDRegular priceUnit price per -
Model Export
3D PRINTINGSTL • STP • DWG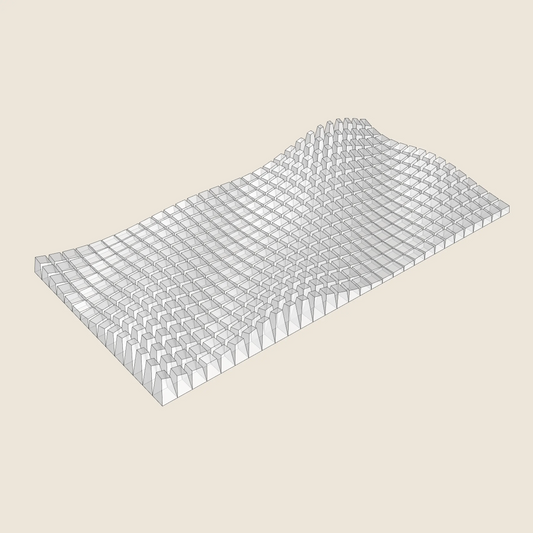
HIGH TIDE - 3D MODEL / 002_003
Regular price $14.63 USDRegular priceUnit price per -
Model Export
3D PRINTINGSTL • STP • DWG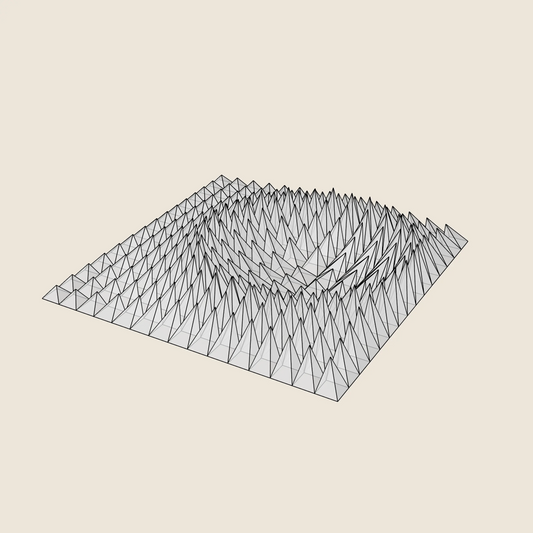
CRATER RING - 3D MODEL / 001_004
Regular price $11.70 USDRegular priceUnit price per -
Model Export
3D PRINTINGSTL • STP • DWG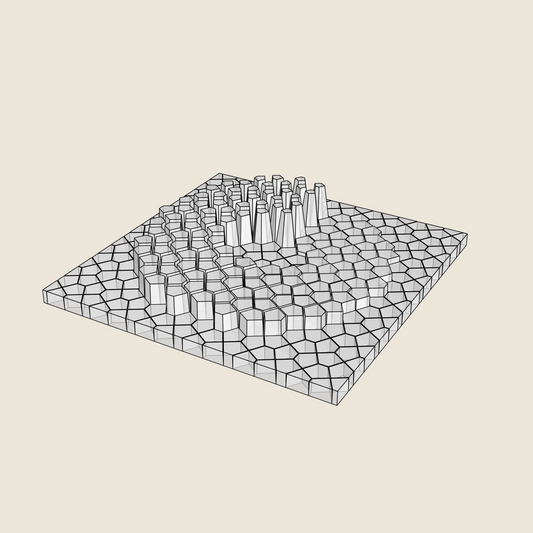
SPIRAL RAMP - 3D MODEL / 007_005
Regular price $8.19 USDRegular priceUnit price per$11.70 USDSale price $8.19 USDSale -
Model Export
3D PRINTINGSTL • STP • DWG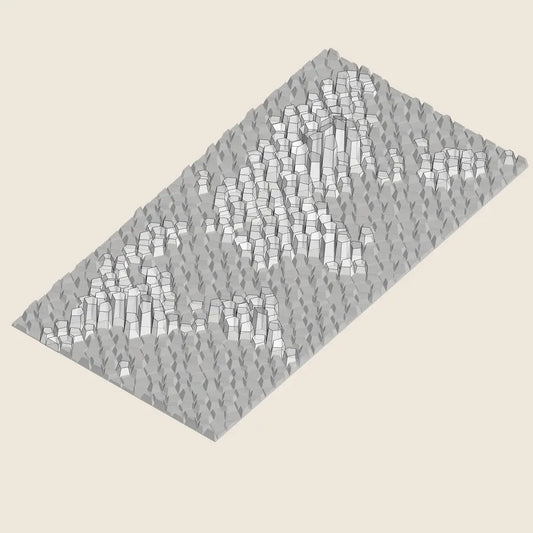
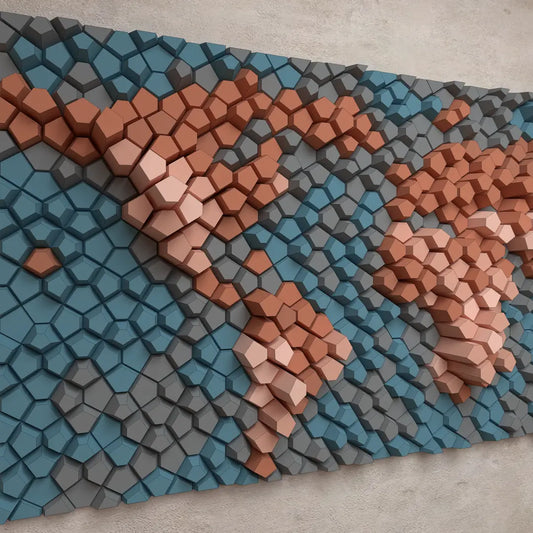
WORLD MAP - 3D MODEL / 007_007
Regular price $17.55 USDRegular priceUnit price per -
Model Export
3D PRINTINGSTL • STP • DWG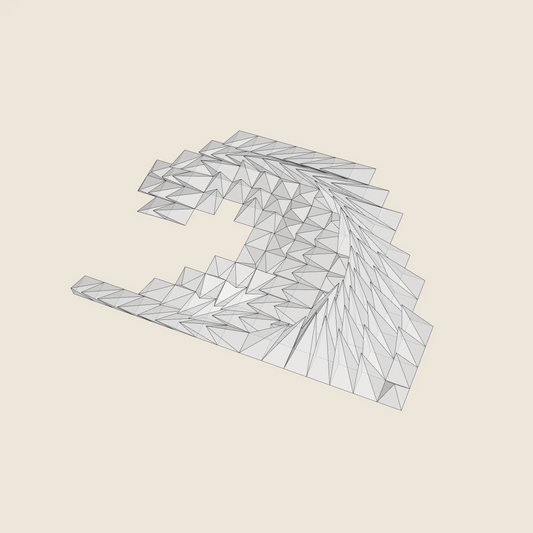

PLUNGING WAVE - 3D MODEL / 001_006
Regular price $5.85 USDRegular priceUnit price per$11.70 USDSale price $5.85 USDSale -
Model Export
3D PRINTINGSTL • STP • DWG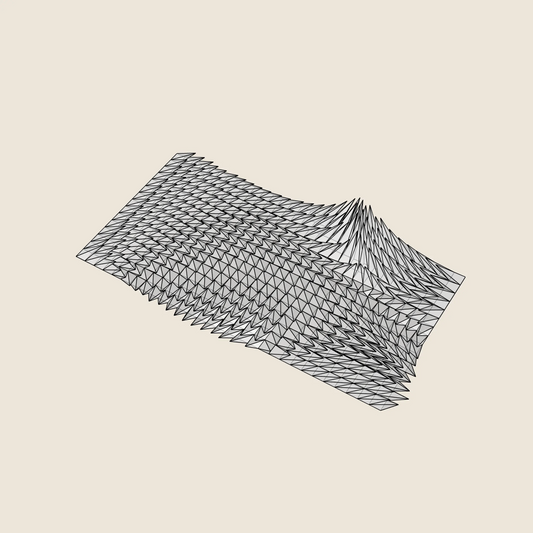
WINDY FUR - 3D MODEL / 001_001
Regular price $14.63 USDRegular priceUnit price per -
Model Export
3D PRINTINGSTL • STP • DWG

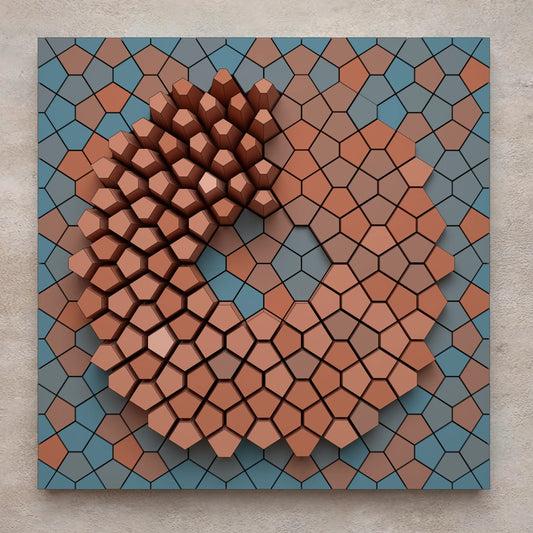
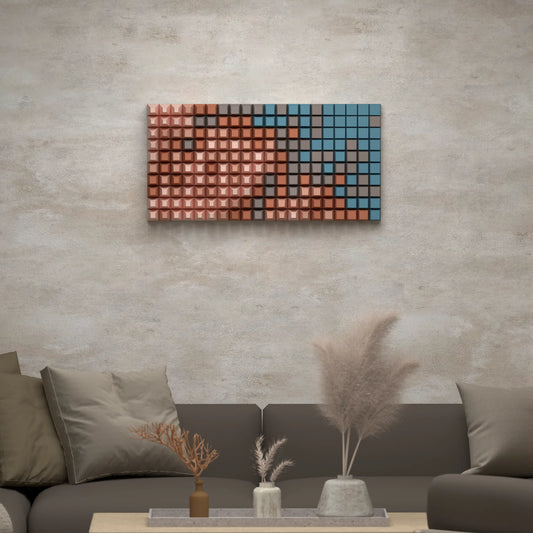
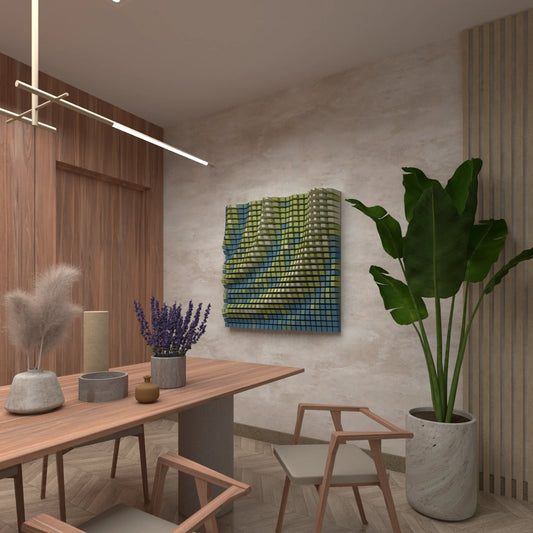
MOSAIC [10 BLOCKS / 25 LAYOUTS] - 3D MODEL / 016_001
Regular price $25.74 USDRegular priceUnit price per -
Model Export
3D PRINTINGSTL • STP • DWG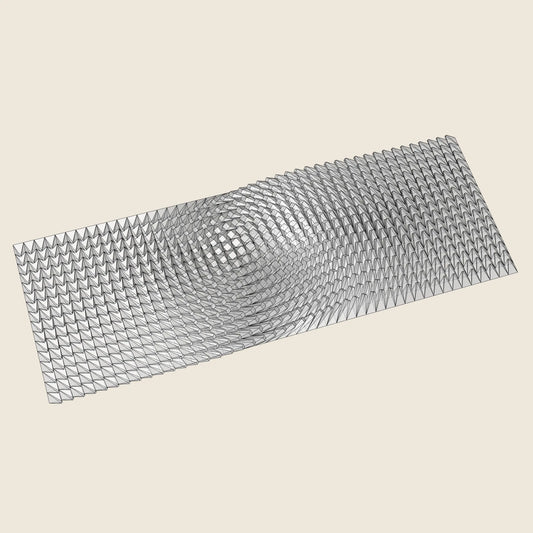

TWISTED BOX 03 - 3D MODEL / 007_003
Regular price $17.55 USDRegular priceUnit price per -
Model Export
3D PRINTINGSTL • STP • DWG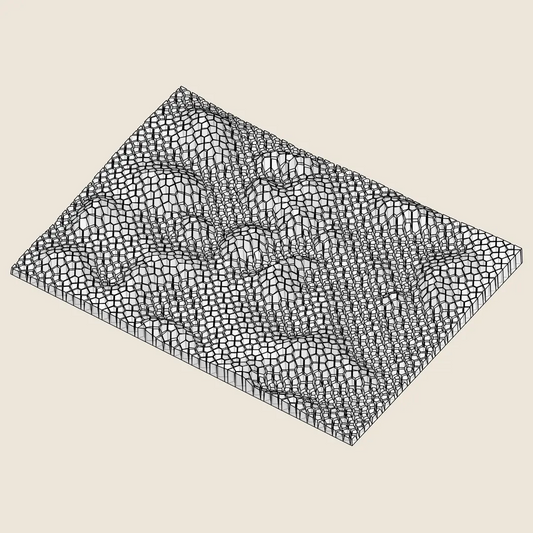
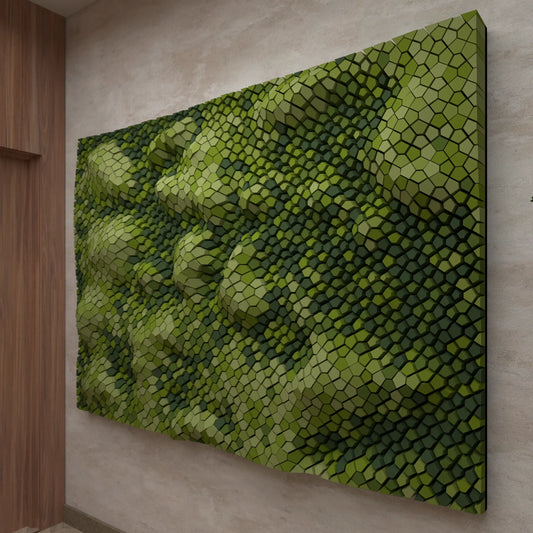
MOSS WALL - 3D MODEL / 007_009
Regular price $17.55 USDRegular priceUnit price per -
Model Export
3D PRINTINGSTL • STP • DWG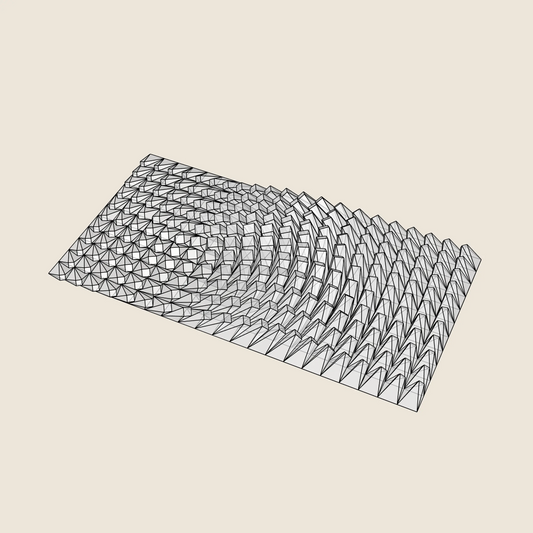
TWISTED BOX 02 - 3D MODEL / 007_002
Regular price $14.63 USDRegular priceUnit price per -
Model Export
3D PRINTINGSTL • STP • DWG

WHIPPING CREAM - 3D MODEL / 010_001
Regular price $17.55 USDRegular priceUnit price per -
Model Export
3D PRINTINGSTL • STP • DWG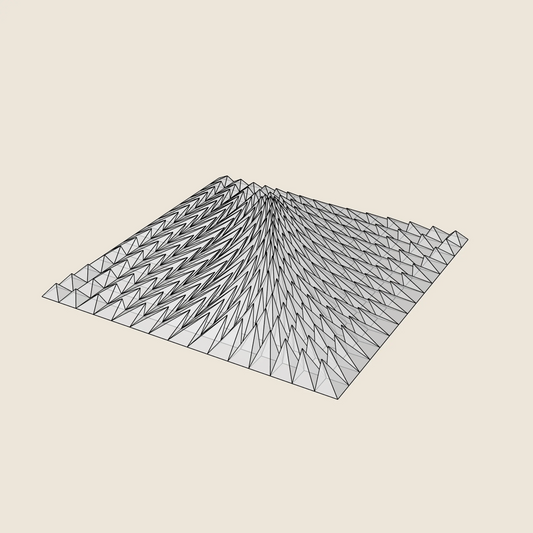

TECTONIC COLLISION - 3D MODEL / 001_003
Regular price $11.70 USDRegular priceUnit price per -
Model Export
3D PRINTINGSTL • STP • DWG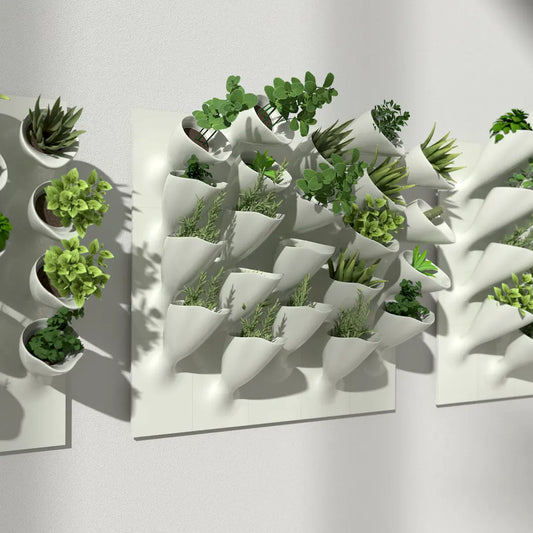
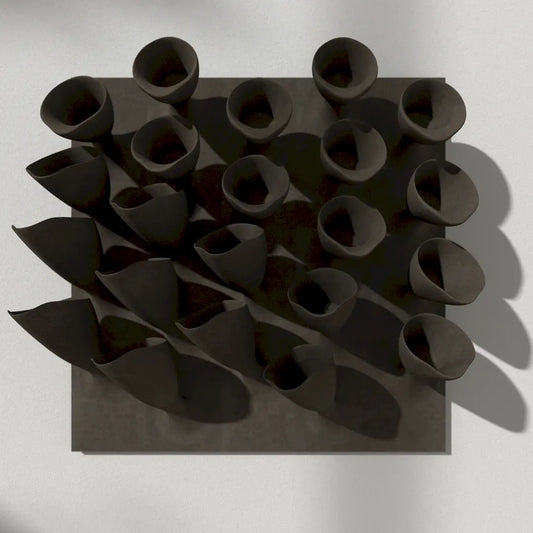
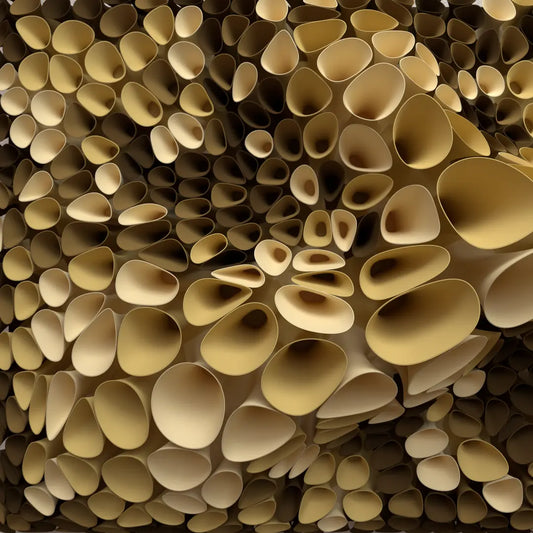
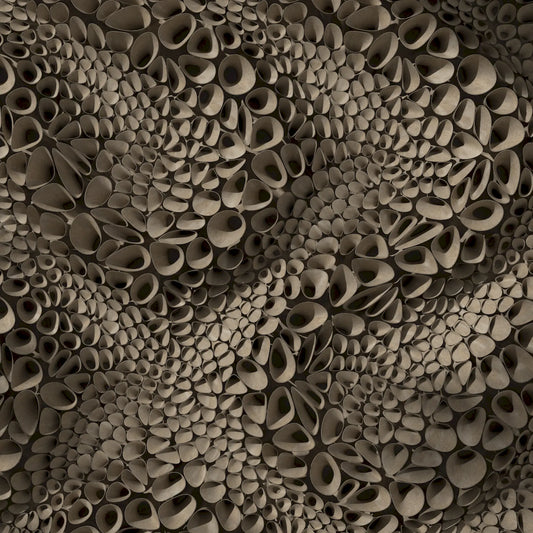
CORNETS DE FLEUR 02 (3× 22 blocks) - 3D MODEL / 010_008
Regular price $14.04 USDRegular priceUnit price per -
Model Export
3D PRINTINGSTL • STP • DWG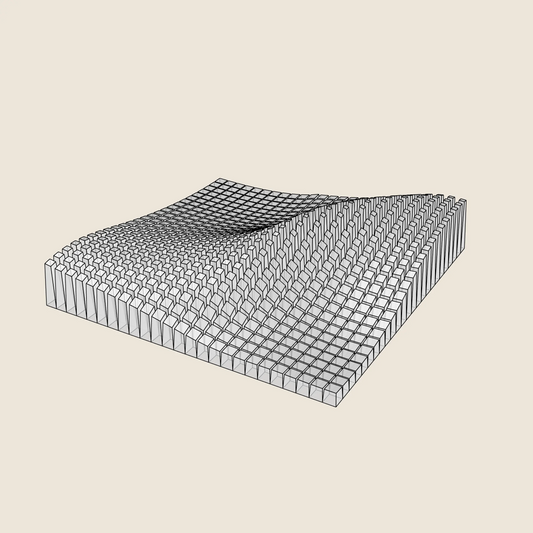

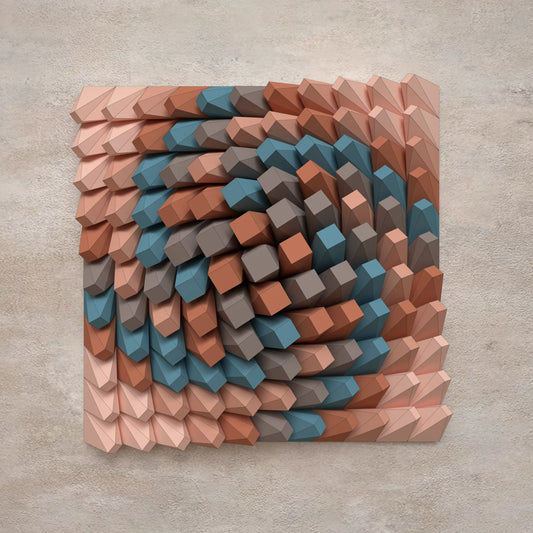
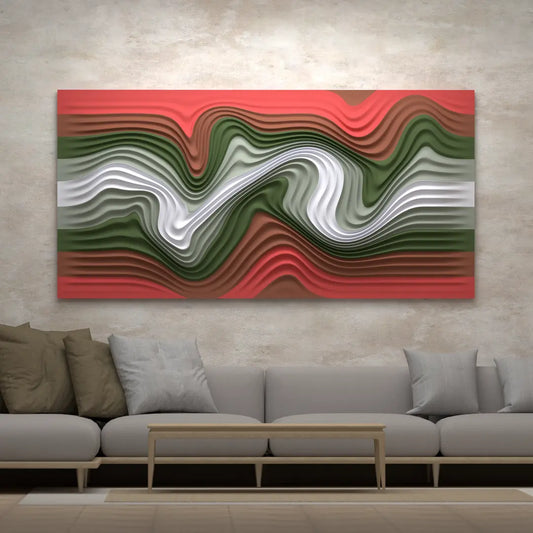
DIAGONAL WAVE - 3D MODEL / 002_005
Regular price $14.04 USDRegular priceUnit price per$17.55 USDSale price $14.04 USDSale -
Model Export
3D PRINTINGSTL • STP • DWG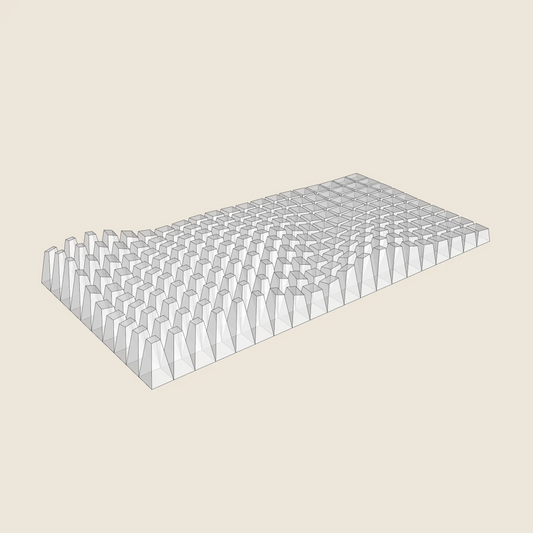
BLOCK WAVE - 3D MODEL / 002_001
Regular price $8.78 USDRegular priceUnit price per$11.70 USDSale price $8.78 USDSale -
Model Export
3D PRINTINGSTL • STP • DWG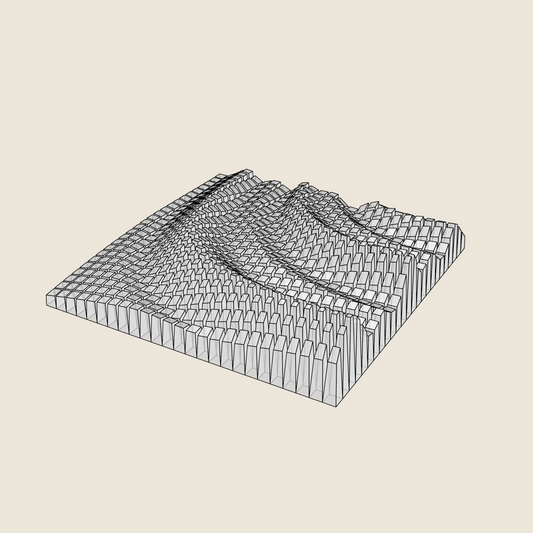
QUARTER CIRCLE WAVES - 3D MODEL / 002_004
Regular price $17.55 USDRegular priceUnit price per -
Model Export
3D PRINTINGSTL • STP • DWG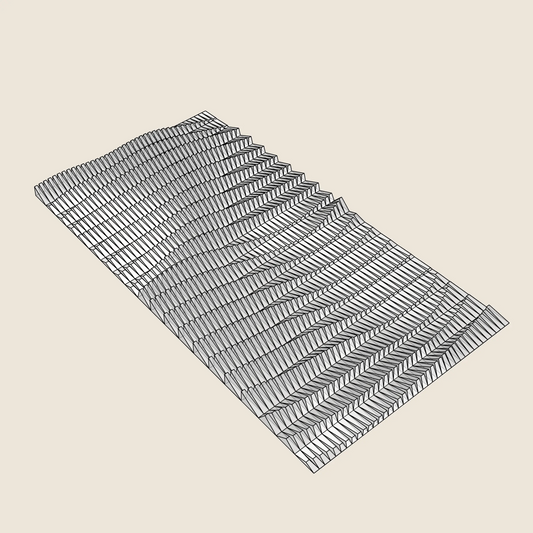
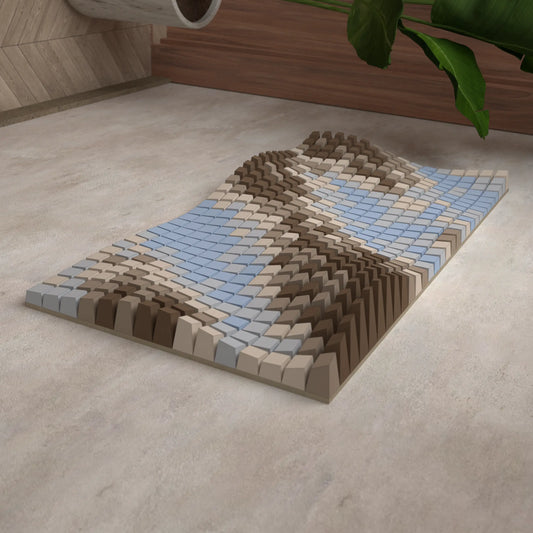
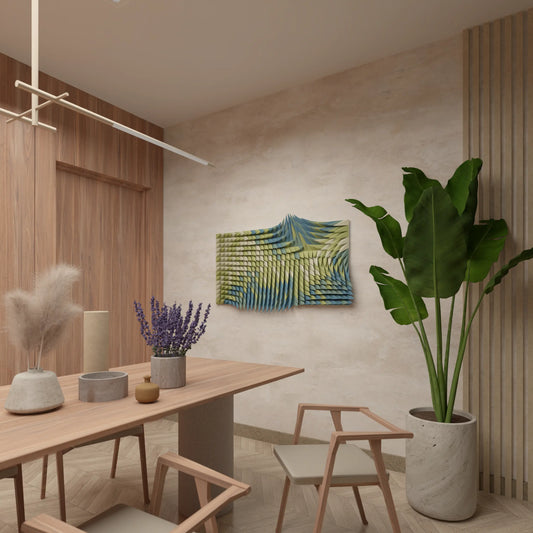
PAPER WAVES - 3D MODEL / 006_001
Regular price $17.55 USDRegular priceUnit price per


