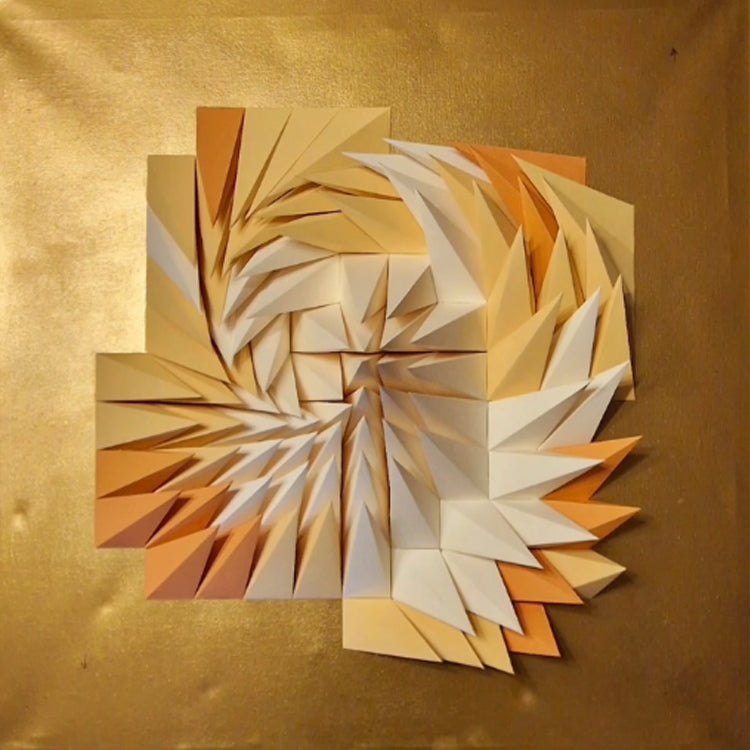
HOW TO MAKE BACKBOARD

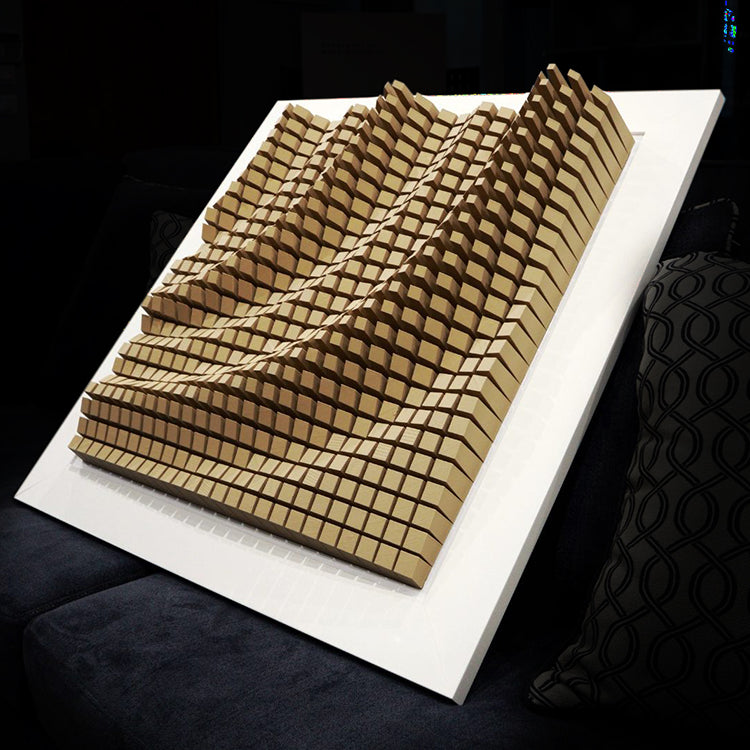
Creating a custom backboard for Paragami 3D wall art is an essential step to ensure your art is both secure and visually appealing. The backboard provides structural integrity, holds the pieces in place, and allows for easy mounting on the wall.

In this tutorial, we'll walk you through the process of making a backboard, choosing materials, and highlighting important things to keep in mind.

  • FOAM CORE / KAPA FOAM BOARD

  • ALUMINIUM FOAM BOARD / ALUMINIUM COMPOSITE PANEL

  • CARDBOARD

  • PLYWOOD

  • ORIENTED STRAND BOARD (OSB)

  • MEDIUM DENSITY FIBERBOARD (MDF)

  • CHIPBOARD

  • ACTYLIC SHEETS

  • SOLID WOOD - JOINTED

  • SOLID WOOD - VENEER COATED

  • CORK BOARD

  • MASONITE (HARDBOARD)

  • METAL SHEET + MAGNETIC TAPE

  • LARGE BOARDS

  • EDGES

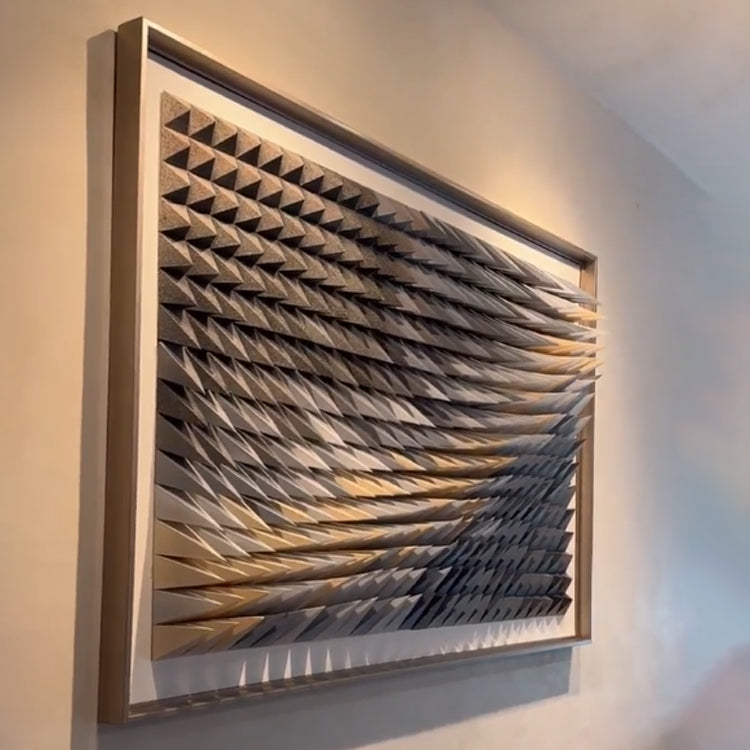
  • FRAME

  • Reinhard Bear

    SHADOW BOX

Once you’ve selected your material, it’s time to cut it to the size you need.

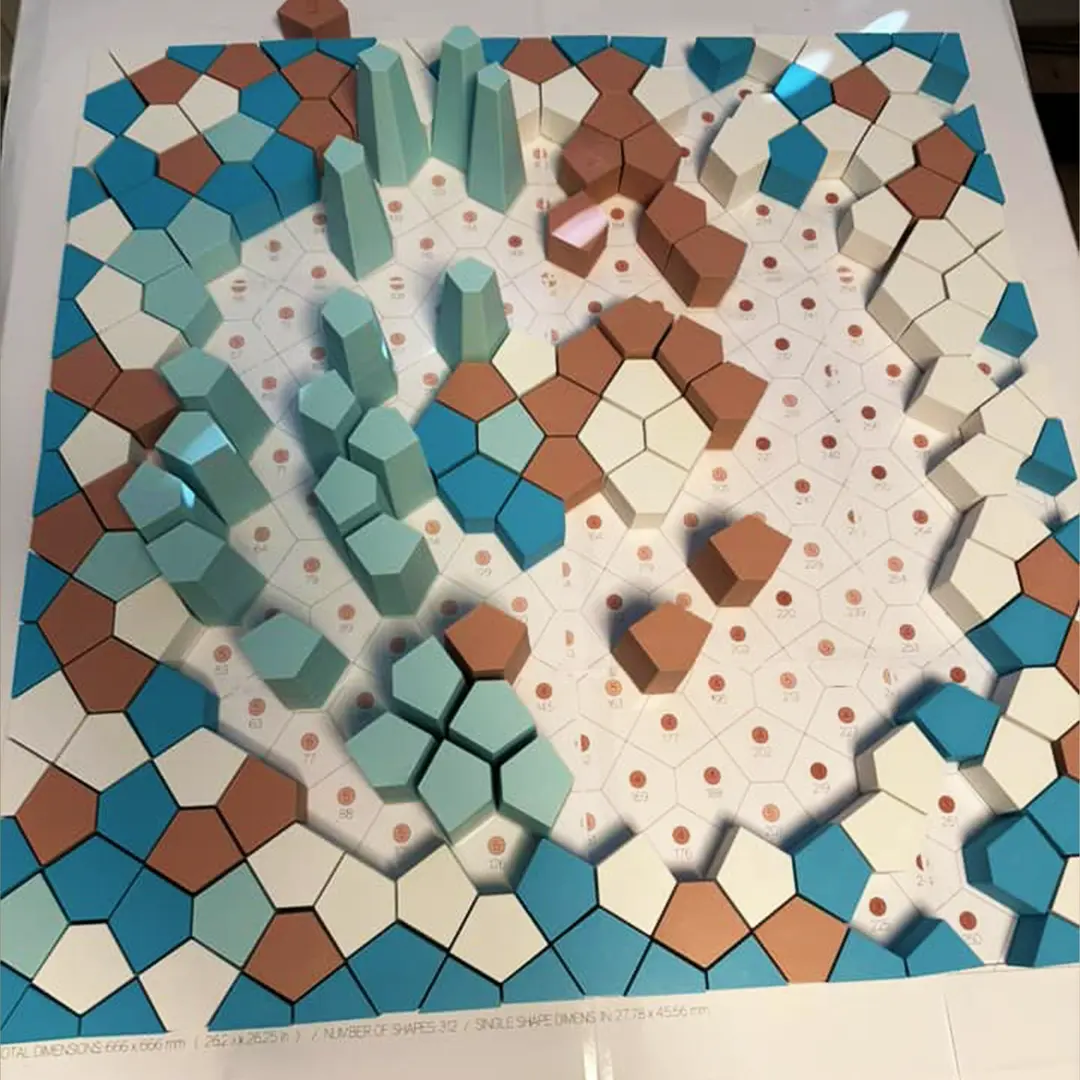
  1. Measure the dimensions of your 3D art layout. If the art follows a grid, make sure to leave a small border around the edges of the backboard for a clean, framed look. Dimensions are also written on the Layout page.

  2. Cut the material with the appropriate tools. Use a utility knife for foamboard, a saw for plywood, MDF, or wood. For acrylic, a jigsaw or circular saw with a fine-tooth blade works best. It is usally possible to get the board cut directly in the hardware store when purchasing.

  3. Sand the edges of plywood, MDF, or wood to remove any roughness and splinters. You can also apply edge banding to MDF or plywood for a cleaner, finished look.

  4. Prime or paint your backboard if desired. This is particularly important for MDF, plywood, and wood to protect them from moisture or environmental damage. Use primer first and let it dry before applying paint
  • SPLIT RAIL BATTEN (FRENCH CLEAT) - WOOD

  • SPLIT RAIL BATTEN (FRENCH CLEAT) - METAL

  • PICTURE HANGER

  • CORD

  • WIRE

  • Andy Arendt

    PREASSEMBLY

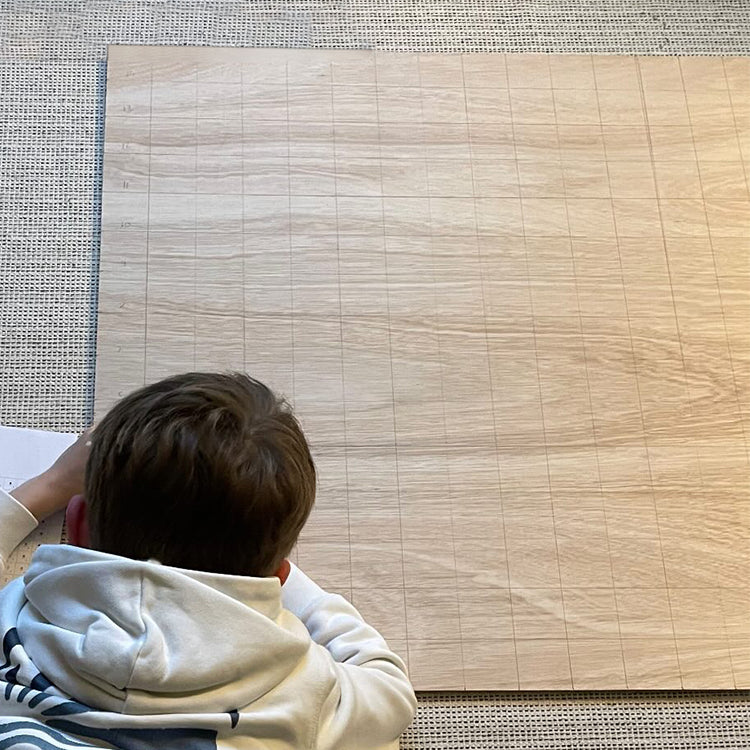
  • DRAWING GRID DIRECTLY

Once the grid is complete, you’re ready to attach the individual blocks to the backboard.

  1. Choose your adhesive based on the material of the blocks and the backboard. For foamboard and lighter materials, double-sided adhesive tape may work. For heavier materials like wood or MDF blocks, use strong adhesives such as wood glue, epoxy, or construction adhesive.

  2. Apply adhesive evenly to the back of each block and press it firmly onto the backboard, ensuring it aligns with the grid markings. Use a level to make sure each block is straight.

  3. Allow time for drying: Follow the drying time specified on the adhesive packaging. For heavier blocks, you may need to clamp the blocks in place while the glue sets.
  • PATTEX - MULTI PURPOSE / INVISIBLE

  • PAPER ART GLUE

  • HOT GLUE GUN

06 / CREATIVE FINISHING IDEAS FOR YOUR BACKBOARD

Paint the Backboard: Consider painting the backboard a contrasting color to the blocks for a modern, eye-catching design.

Fabric-Covered Backboard: Stretch and staple fabric over your backboard to add texture and depth to your art. This can give the piece a softer, more elegant look.

Distressed or Stained Wood: For a rustic feel, use distressed wood or apply wood stain to give the backboard a warm, natural appearance.

APPLY FOR A 30% DISCOUNT ON YOUR NEXT DIGITAL TEMPLATE PURCHASE

Once you finish your wall art, let us know! Allow us to share photos of your piece on social media and get a 30% discount on your next digital template purchase!